I’ll tell you a bit about my experience and the ways to perform all of the needed actions each way.

For the first way, I’ll start with the easiest way, using Google’s DataProc service (currently on Beta). If some of you are using Amazon’s AWS it’s the equivalent of their EMR (Elastic MapReduce) service, you can launch a Spark cluster with a GUI tool in the Google cloud console, REST API or via command line tool (I’ll show all of the possibilities next).
First you’ll need to create a Google Cloud account, you can do so in the next link, you get a free trial of 300$ of credits, it will be more than enough for all of your tests. Once you've created the account we can start using the web console to launch the cluster.
You might want to prepare in advance two things (If not, you’ll get the default which are fine too):
- Creating a “Cloud Storage staging bucket” to stage files, such as Hadoop jars, between client machines and the cluster. If not specified, a default bucket is used.
- Creating a Network for the Spark cluster the Compute Engine network to use for the cluster. If not specified, the default network will be chosen for you.
I’ve added a screenshot of the network I’ve created that’s called “spark-cluster-network”, and opened up only the relevant Firewall rules (both for connecting to the cluster and to being able to see the UI features of the Spark cluster).

The next step will be to launch the cluster with DataProc, there are 3 ways to do that:
- A GUI tool of DataProc on your Cloud console: To get to the DataProc menu we’ll need to follow the next steps:
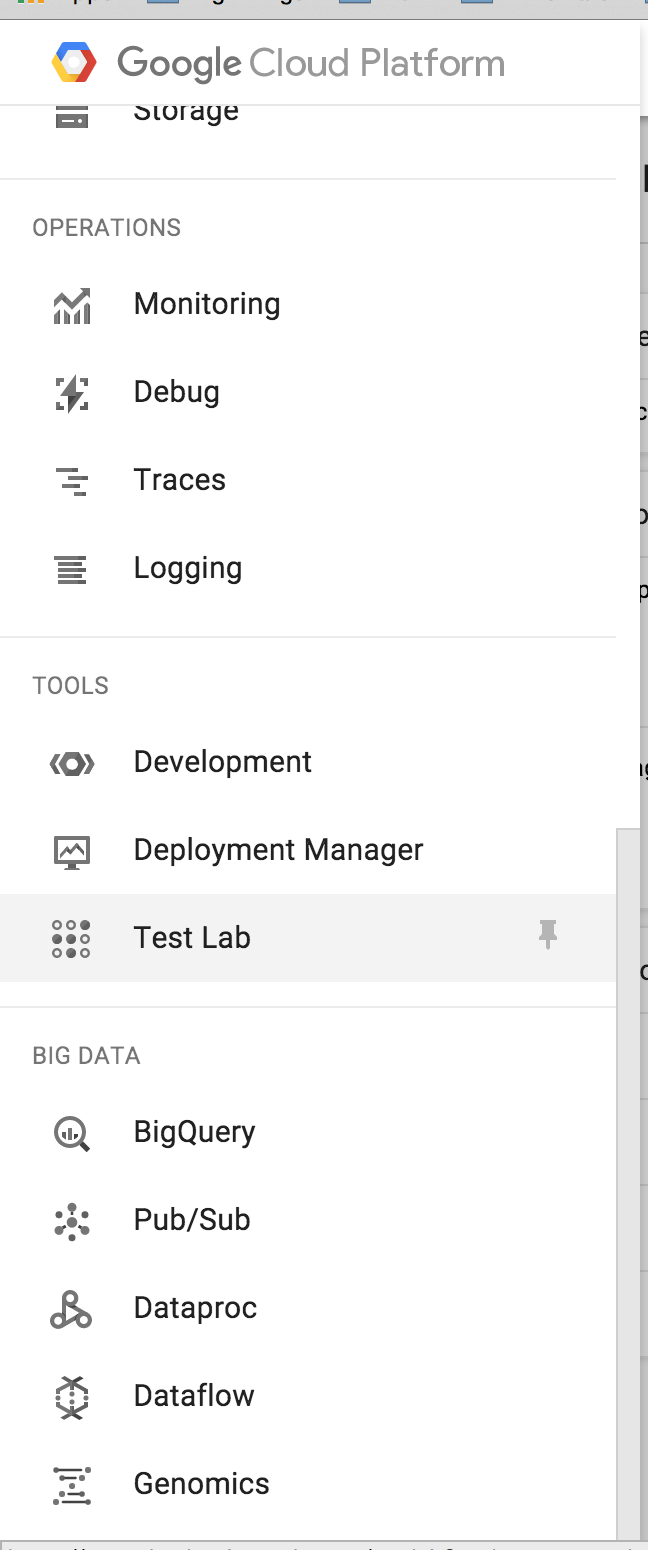
On the main console menu find the DataProc service:
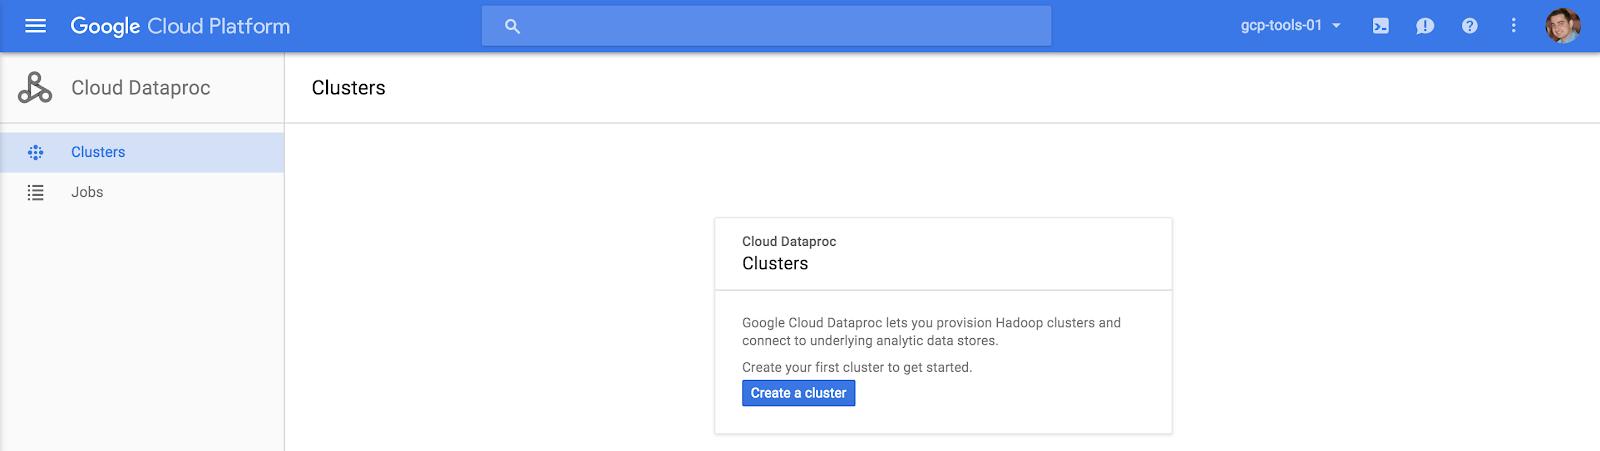
Then you can create a new cluster, with all of the parameters we’ve talked about before, in our case it’s called “cluster-1”.

After giving the launch command the cluster was up and running after ~45 seconds and I was able to connect to it via SSH:

And you can see that Apache Spark was already pre-installed at “/var/lib/spark”.

Just to check that all is running well I ran spark-shell:

But note a very important thing, you’ll need to launch each application (spark-shell included) with the config parameter to override the Dynamic Allocation feature of YARN.
I got this problem when I launched the job without this configuration, that all of a sudden i would lose executors during the spark-shell was running: (you can see it in the spark master UI that the executors were removed)

Thanks to Vadim Solovey, Dynamic allocation causes Spark to relinquish idle executors back to YARN and unfortunately at the moment spark prints that spammy but harmless "lost executor" message. This was the classical problem of spark on YARN where spark originally paralyzed clusters it ran on because it would grab the maximum number of containers it thought it needed and then never give them up.
With dynamic allocation, when you start a long job, spark quickly allocates new containers (with something like exponential ramp-up to quickly be able to fill a full YARN cluster within a couple minutes) and when idle, relinquishes executors with the same ramp-down at an interval of about 60 seconds (if idle for 60 seconds, relinquish some executors).
If you want to disable dynamic allocation you can run: “spark-shell --conf spark.dynamicAllocation.enabled=false”
or,
“gcloud beta dataproc jobs submit spark --properties spark.dynamicAllocation.enabled=false --cluster <your-cluster> application.jar”
Alternatively, if you specify a fixed number of executors, it should also automatically disable dynamic allocation:
“spark-shell --conf spark.executor.instances=123”
“spark-shell --conf spark.executor.instances=123”
or,
“gcloud beta dataproc jobs submit spark --properties spark.executor.instances=123 --cluster <your-cluster> application.jar”
Some other useful configuration you probably would like to run with are:
“--conf spark.logConf=true --conf spark.logConf=true --conf spark.ui.killEnabled=true”
- Command line tool that you’ll need to install the cloud SDK for that on your management machine.
For example: (You can also generate the command from the GUI tool)
gcloud beta dataproc clusters create cluster-1 --zone us-central1-a --master-machine-type n1-standard-4 --master-boot-disk-size 500 --num-workers 2 --worker-machine-type n1-standard-4 --worker-boot-disk-size 500 --num-preemptible-workers 2 --image-version 0.2 --project gcp-tools-01
- REST API that you can launch a cluster as well from.
POST /v1beta1/projects/gcp-tools-01/clusters/
{
"clusterName": "cluster-1",
"projectId": "gcp-tools-01",
"configuration": {
"configurationBucket": "",
"gceClusterConfiguration": {
"networkUri": "https://www.googleapis.com/compute/v1/projects/gcp-tools-01/global/networks/default",
"zoneUri": "https://www.googleapis.com/compute/v1/projects/gcp-tools-01/zones/us-central1-a"
},
"masterConfiguration": {
"numInstances": 1,
"machineTypeUri": "https://www.googleapis.com/compute/v1/projects/gcp-tools-01/zones/us-central1-a/machineTypes/n1-standard-4",
"diskConfiguration": {
"bootDiskSizeGb": 500,
"numLocalSsds": 0
}
},
"workerConfiguration": {
"numInstances": 2,
"machineTypeUri": "https://www.googleapis.com/compute/v1/projects/gcp-tools-01/zones/us-central1-a/machineTypes/n1-standard-4",
"diskConfiguration": {
"bootDiskSizeGb": 500,
"numLocalSsds": 0
}
},
"secondaryWorkerConfiguration": {
"numInstances": "2",
"isPreemptible": true
},
"softwareConfiguration": {
"imageVersion": "0.2"
}
}
}
{
"clusterName": "cluster-1",
"projectId": "gcp-tools-01",
"configuration": {
"configurationBucket": "",
"gceClusterConfiguration": {
"networkUri": "https://www.googleapis.com/compute/v1/projects/gcp-tools-01/global/networks/default",
"zoneUri": "https://www.googleapis.com/compute/v1/projects/gcp-tools-01/zones/us-central1-a"
},
"masterConfiguration": {
"numInstances": 1,
"machineTypeUri": "https://www.googleapis.com/compute/v1/projects/gcp-tools-01/zones/us-central1-a/machineTypes/n1-standard-4",
"diskConfiguration": {
"bootDiskSizeGb": 500,
"numLocalSsds": 0
}
},
"workerConfiguration": {
"numInstances": 2,
"machineTypeUri": "https://www.googleapis.com/compute/v1/projects/gcp-tools-01/zones/us-central1-a/machineTypes/n1-standard-4",
"diskConfiguration": {
"bootDiskSizeGb": 500,
"numLocalSsds": 0
}
},
"secondaryWorkerConfiguration": {
"numInstances": "2",
"isPreemptible": true
},
"softwareConfiguration": {
"imageVersion": "0.2"
}
}
}
You can also create an initialization script, A list of scripts to be executed during initialization of the cluster. Each must be a GCS file with a gs:// prefix.
Here’s a list of all the DataProc initialization actions by Google at their GitHub account: https://github.com/GoogleCloudPlatform/dataproc-initialization-actions
And here are some more API docs of the way to create your own init-actions https://cloud.google.com/dataproc/init-actions.
Specific network configuration adjustments to be made:
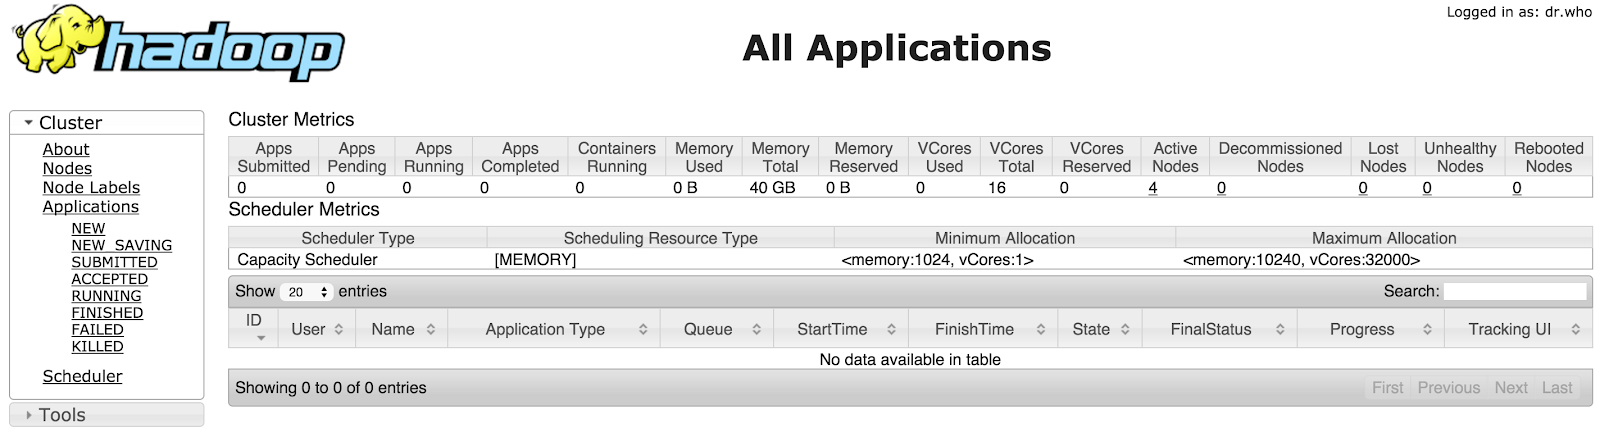
Because we’ve created a network of our own that is now open for the outer world, we’ll need to open some vital port to expose the Web UI of some Spark services, Allowing the TCP ports of: 4040, 18080, 8088, 19888 will allow you the next services.
(Note: You might need to open other ports for the outer world if you choose to run other frameworks than the ones listed below:
(Note: You might need to open other ports for the outer world if you choose to run other frameworks than the ones listed below:
Spark Master UI: http://<Master IP Address>:4040
Spark History Server: http://<Master IP Address>:18080

Yarn Application Master: http://<Master IP Address>:8088/cluster
Hadoop Job History Server: http://<Master IP Address>:19888/jobhistory

Conclusion:
There you have it, in a manner of minutes, even without knowing anything about DataProc / Spark cluster launching you’ll have a running environment on Google Cloud Platform.
In the process you can also choose a certain amount of Preemptible VMs as more executors that will be cheaper than Compute Engine VMs, they will be launched as part of your cluster.
With all of that said, It’s a paid service, and you need to take that in consideration, I think that most of the time you would want to run DataProc is for a pre-defined period of time jobs, that you’ll need to launch a cluster for, do a computation load and then destroy the cluster, and not for a Forever running Spark cluster that you might want to make adjustments and Install additional tools on.
So what are the other options to running Apache Spark on GCP?
next we will show bdutil by Google, A command line tool that provided API to manage Hadoop and Spark tool on GCP and another way to Launch a Mesos cluster on top of GCP and then running Apache Spark on it,
next we will show bdutil by Google, A command line tool that provided API to manage Hadoop and Spark tool on GCP and another way to Launch a Mesos cluster on top of GCP and then running Apache Spark on it,
But that will be in future blog posts.
If you have any further questions,
please leave comments, hope this helps you get into the Spark world on GCP.
please leave comments, hope this helps you get into the Spark world on GCP.


